We know how it is, all you want to do is wear your curly hair down and show off the locks you were gifted with. But most days, when you try doing that, you end up hating how big and frizzy it looks.
So what do you do? Pin it into a bun and call it a day. But wait! If you used the right products and methods to take care of your curls and followed the curly girl method, styling it would be so much easier. Here are just a few tips that will be super helpful in your curly hair care routine.
Step 1: Use a Conditioning Mask Before You Shower
A conditioning mask is basically a deep treatment for your hair to prevent dryness or frizzyness. Go for one specifically made for curly or textured hair. It should have ingredients like shea butter, coconut oil, or avocado oil. Avoid anything with harsh sulfates or alcohols as they’ll just dry your hair out more.
Take a small amount and work it through your hair curls. Focus on the ends since they’re usually the driest. Let the mask sit for at least 20-30 minutes. You can keep it on for up to an hour or two. While you wait, put on a shower cap or wrap your hair in a towel to trap some heat. You can use the mask once a week.
Step 2: Wash With a Sulfate Free Shampoo and Conditioner
Credit: Envato Elements/ AtlasComposer
Curly and wavy hair craves moisture, so pick a good moisturizing curly hair shampoo and conditioner. Look for ingredients like aloe vera, coconut oil, or argan oil. Again, avoid any sulfates.
When shampooing, use minimal product (Shampoo only at the roots. Do not shampoo the length of your hair), or skip shampooing altogether and just go in with conditioner if it hasn't been a long time since your last wash.
For conditioner, apply a good amount of product only mid-length to the ends of your hair. Leave it on for a few minutes. While waiting, put your head down so that your curls are directed to the floor. Start detangling your hair with a wide-tooth comb. You can also use your fingers.
Note: You can wash with conditioner every time you feel your hair feels greasy or weighed down. Wash with shampoo only once a week.
Step 3: Use a T-Shirt or Microfiber Towel to Dry
Regular towels are too rough for curly hair as they create friction and mess up curl patterns. Instead, use a soft 100% cotton T-shirt or a microfiber towel.
When drying your wet hair, don't rub it. Flip your head upside down and gently scrunch and squeeze each section with the T-shirt or microfiber towel. Don't dry fully. The next step requires your hair to be damp.
Step 4: Apply Your Styling Product
Credit: Envato Elements/ shotprime
Unlike straight hair, curly hair requires a good amount of product for it to look great. You'll need a curl cream or styling gel. Squeeze some of the product into your palms and rub them together. With a light hand apply the product at the back, the sides, and along the length of your hair.
With a little product still in your palms, cup a section of your hair and scrunch it towards your scalp. Keep doing this till you've covered all the sections. Spritz some more water if your hair is too dry for this process. Your hair should look all clumped up. Don't try to manually separate the curls as it will automatically happen during the drying process.
Step 5: Start Plopping
“Plopping” might sound a little funny but it helps curls dry in a more defined, frizz-free shape. After applying your styling products, lay your microfiber towel or T-shirt flat on the bed or bathroom counter, then flip your head upside down and lower your damp hair onto the center. Wrap the ends of the T-shirt/towel around the back of your head and bring the sides up to the front. Leave it on for about 15–20 minutes
Step 6: Unplop and Get Rid of the Crunch
Credit: Envato Elements/ riderfoot
Turn your head upside down and gently take off the T-shirt or microfiber towel you used to plop. At this stage, your curls will feel a little stiff or crunchy. This is called the “cast” which forms from the gel or whatever other styling products you've used. To break this up, you’ll want to “scrunch out the crunch.”
Flip your head over and apply a few drops of a lightweight oil or serum to your hands. Now scrunch upwards towards your scalp. After you’ve scrunched out the crunch, try not to touch your hair too much. The more you leave it alone, the better it’ll hold throughout the day.
Optional: Use a Diffuser Attachment on Your Hair Dryer (Instead of Plopping)
If you don't have time to plop, take a diffuser attachment and attach it to your hair dryer. Unlike a regular hair dryer which will just make your hair frizzy, diffusers are designed to spread the airflow evenly without disturbing your natural curl pattern. Use it on a low to medium heat setting and a low airspeed. Use immediately after applying your styling products. To define your face-framing curls, you can use a curling iron.
Here's how to use a diffuser: Flip your head over (or tilt it to the side), and hold the diffuser up to the ends of your hair. Let your curls sit in the diffuser bowl, then move it up toward your roots, scrunching as you go. Hold for a few seconds, then move to the next section. You don’t have to dry completely—just until your hair is about 80-90% dry.
Step 7: Sleep on a Silk Pillowcase
Credit: Envato Elements/ AtlasComposer
Your hair will look great after following the steps above but like everything good, it will not last. But that does not mean that it's impossible.
To maintain your curls overnight, sleep on a silk pillowcase. Unlike a regular pillowcase, silk is a super smooth fabric, so it reduces friction as you sleep. This means less frizz, fewer tangles, and improved natural hair texture. You can also wrap a silk bonnet or a silk scarf.
Step 8: Trim Regularly
Naturally curly hair tends to get drier and more damaged compared to other hair types. This tends to affect how your curls form. To ensure your curls stay bouncy and healthy, get a trim at least every 6-8 weeks. Go to a stylist who has experience with curly hair and ask them for a “dry cut”.
Summary
Styling curly hair can feel challenging, but with the right techniques, you can bring out the best in your curls and maintain healthy, defined hair. From choosing the right products to gentle drying methods, these tips will help you create a curly hair routine that’s easy to follow and effective.
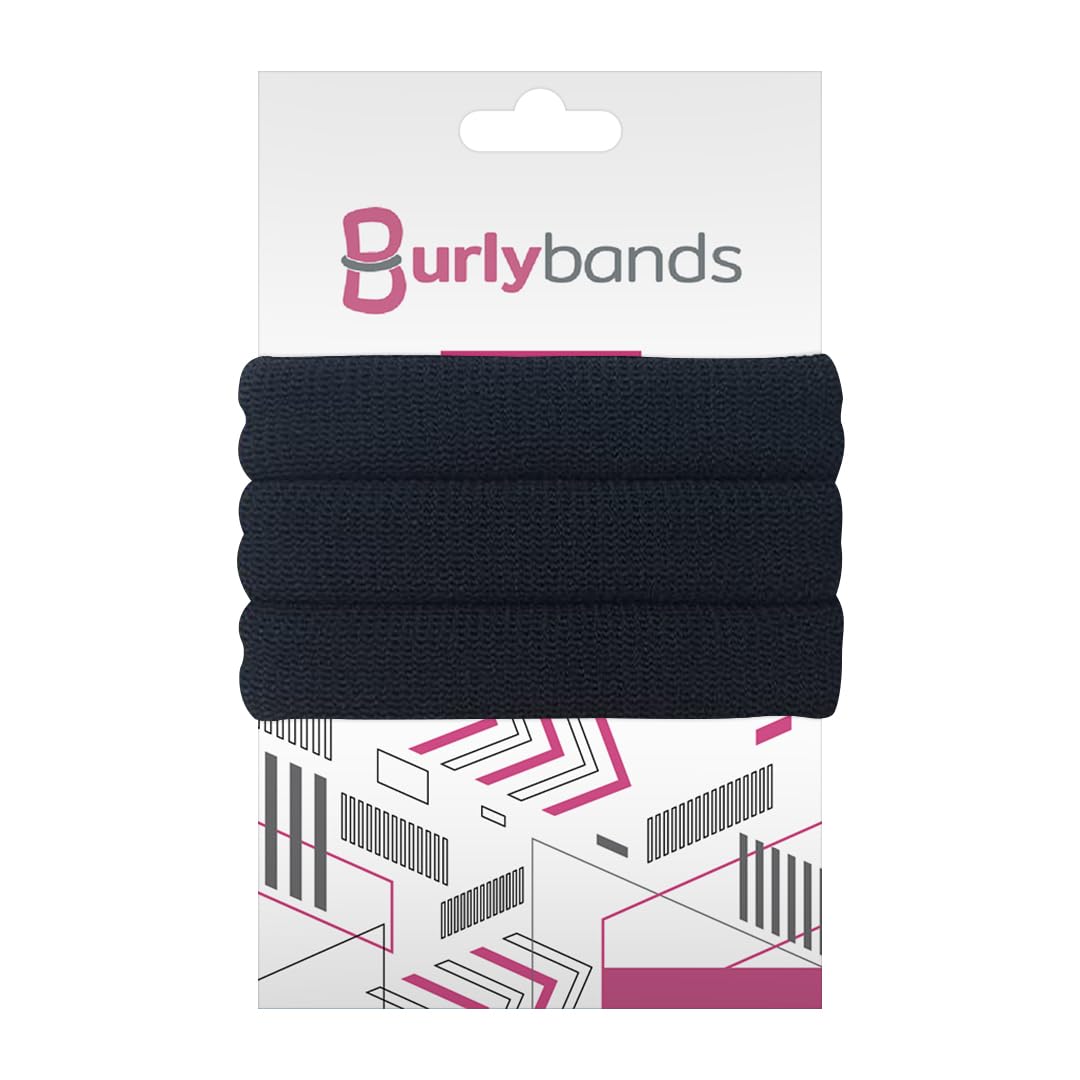
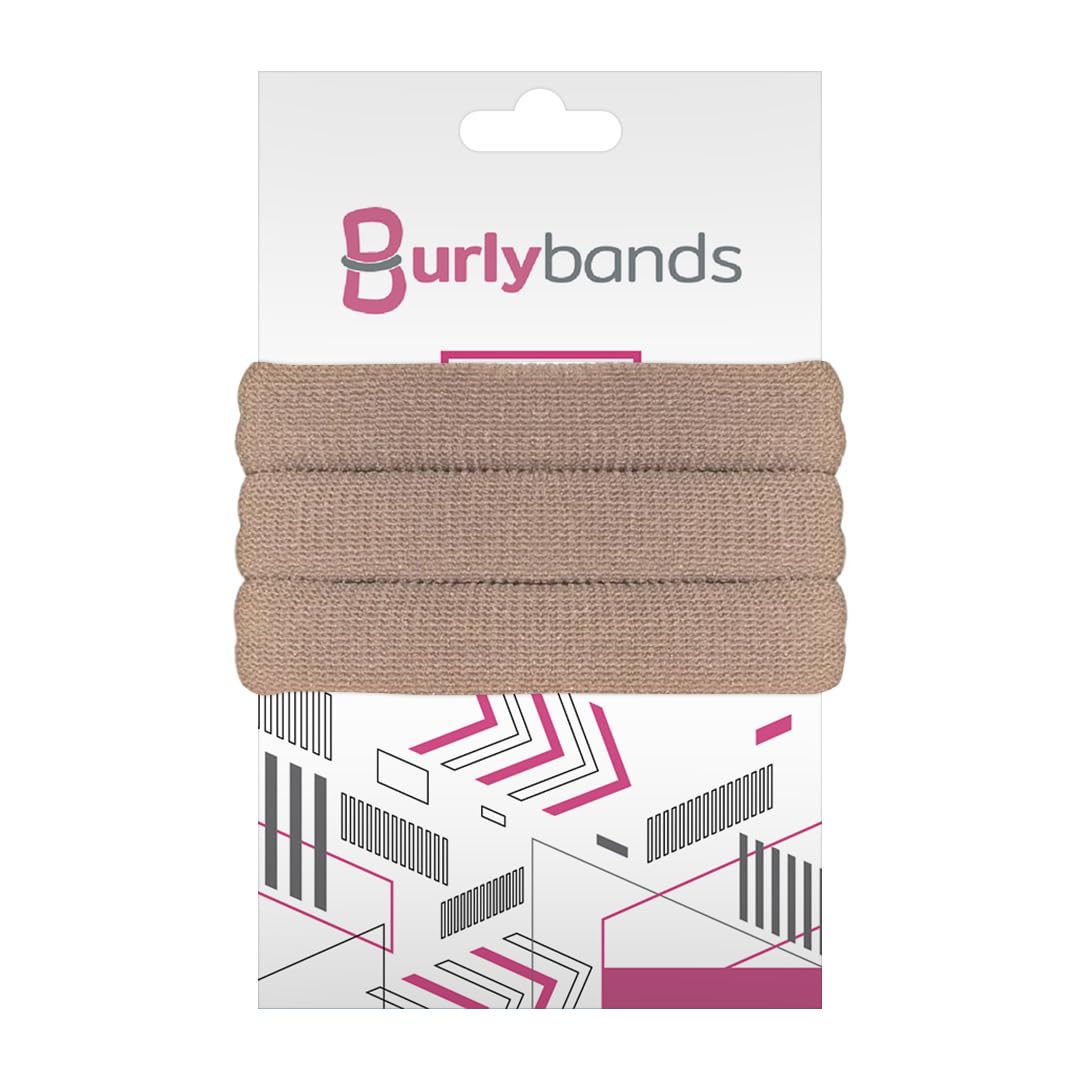
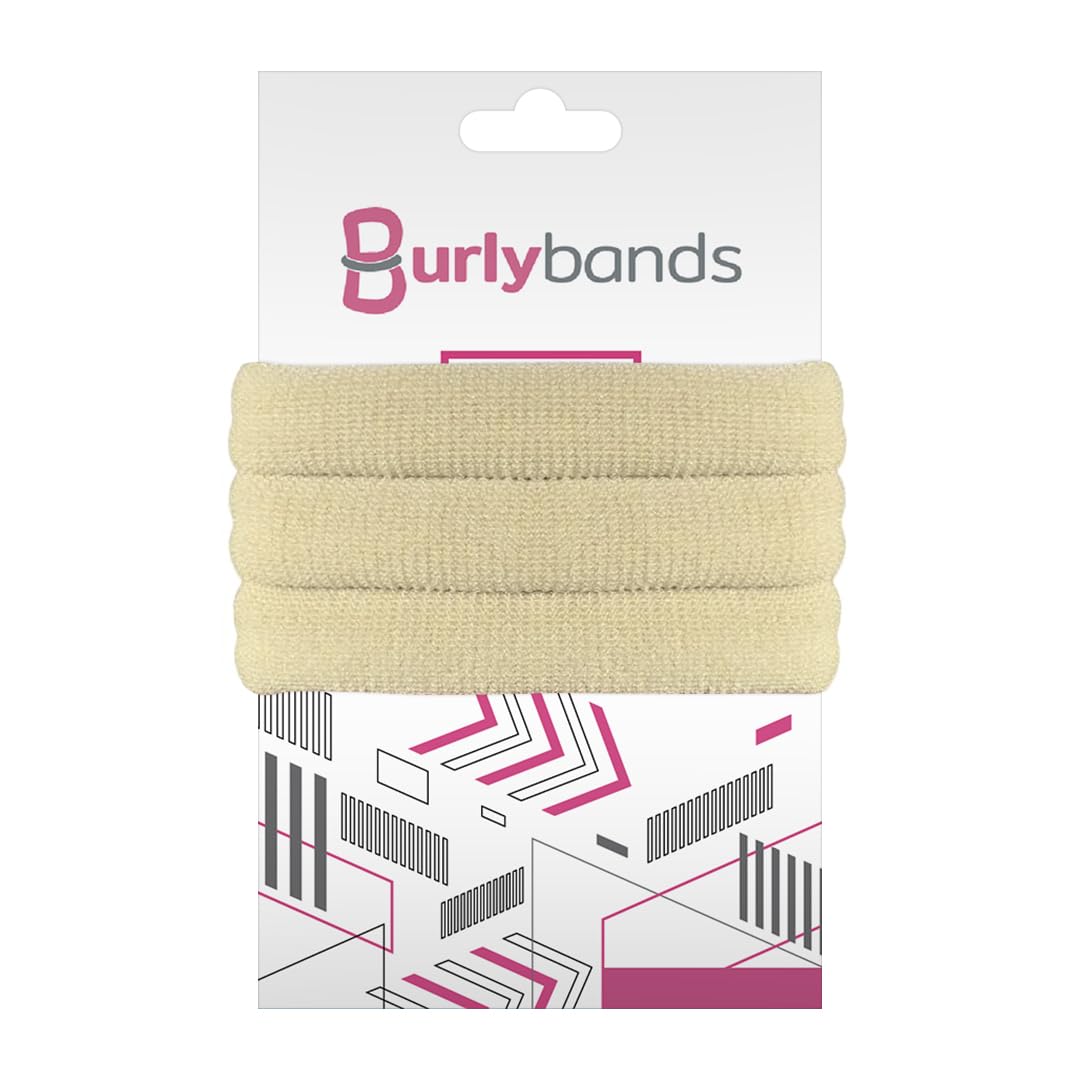
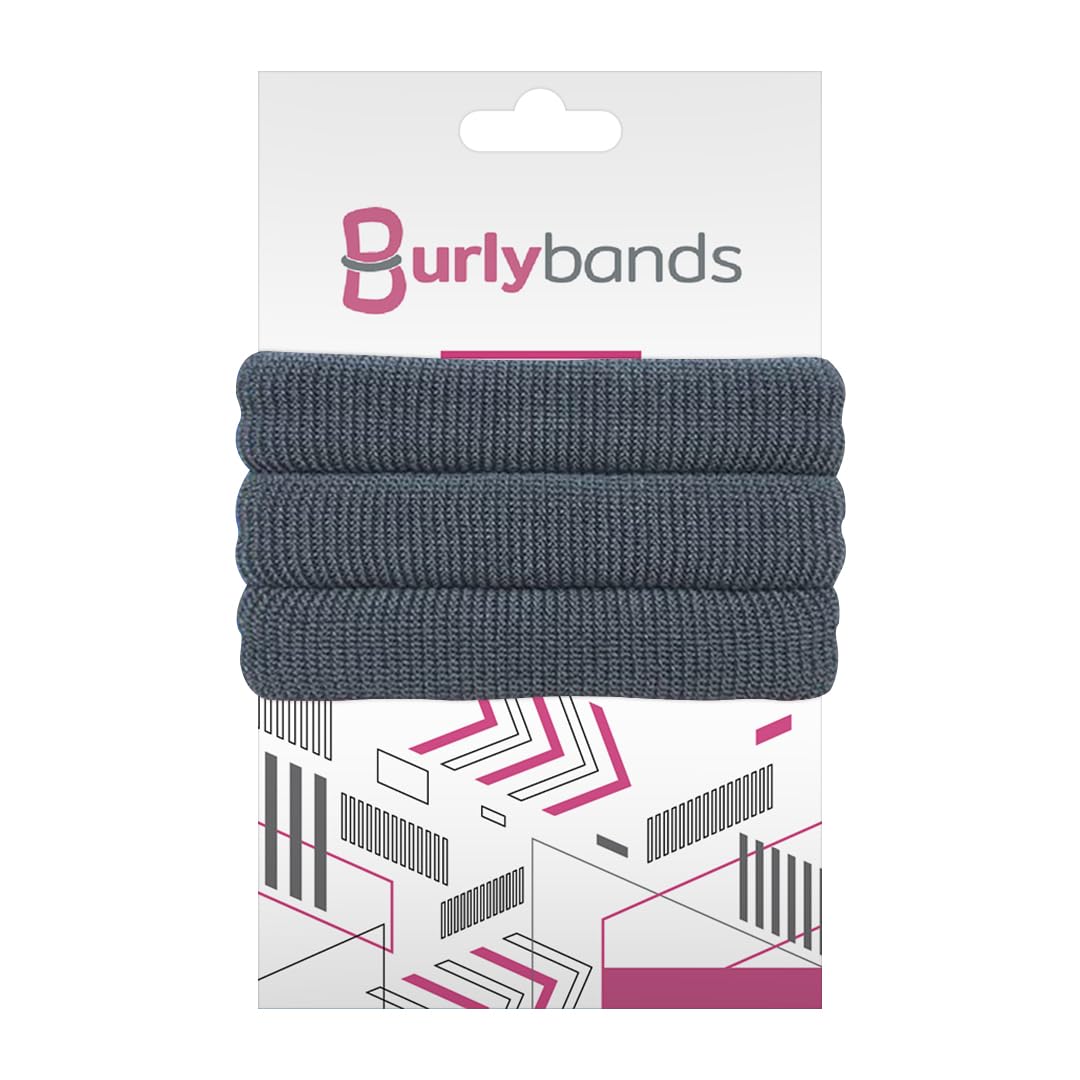
Looking for hair ties to style curly hair? Check out Burlybands. Designed for curly girls, they’re designed to hold thick, curly hair without slipping, snapping, or causing breakage. Shop with us today.
 Log in


