Ever caught sight of that picture-perfect topknot bun worn effortlessly by your favorite Hollywood celebrity and thought, "Could I pull off that trendy updo?" It may appear as though this style is exclusive to a privileged few, but that's not the case. You, too, can rock a stunning topknot bun, and you might even turn heads as you do.
With our simple, easy-to-follow guide, you will learn to tie the perfect topknot bun - your secret weapon for a stylish, sophisticated look, no matter the occasion. Let's get started.
The Basics Tools You'll Need to Tie a Topknot Bun
Before we guide you through the steps of tying the perfect topknot bun, it's important to have all the necessary tools at hand. These tools will ensure a smooth styling experience and an outcome that not only meets but exceeds your expectations. Here are the basic tools that you'll need:
1) Hairbrush

Credit: Envato Elements/ alexstand
The foundation of any good hairstyle is well-brushed, knot-free hair. A good-quality hairbrush will gently untangle your strands, leaving them smooth and ready to be transformed into an elegant topknot. When choosing a hairbrush for a topknot bun, you can either go for a wide bristle brush or a fine bristle brush.
2) Hair Ties
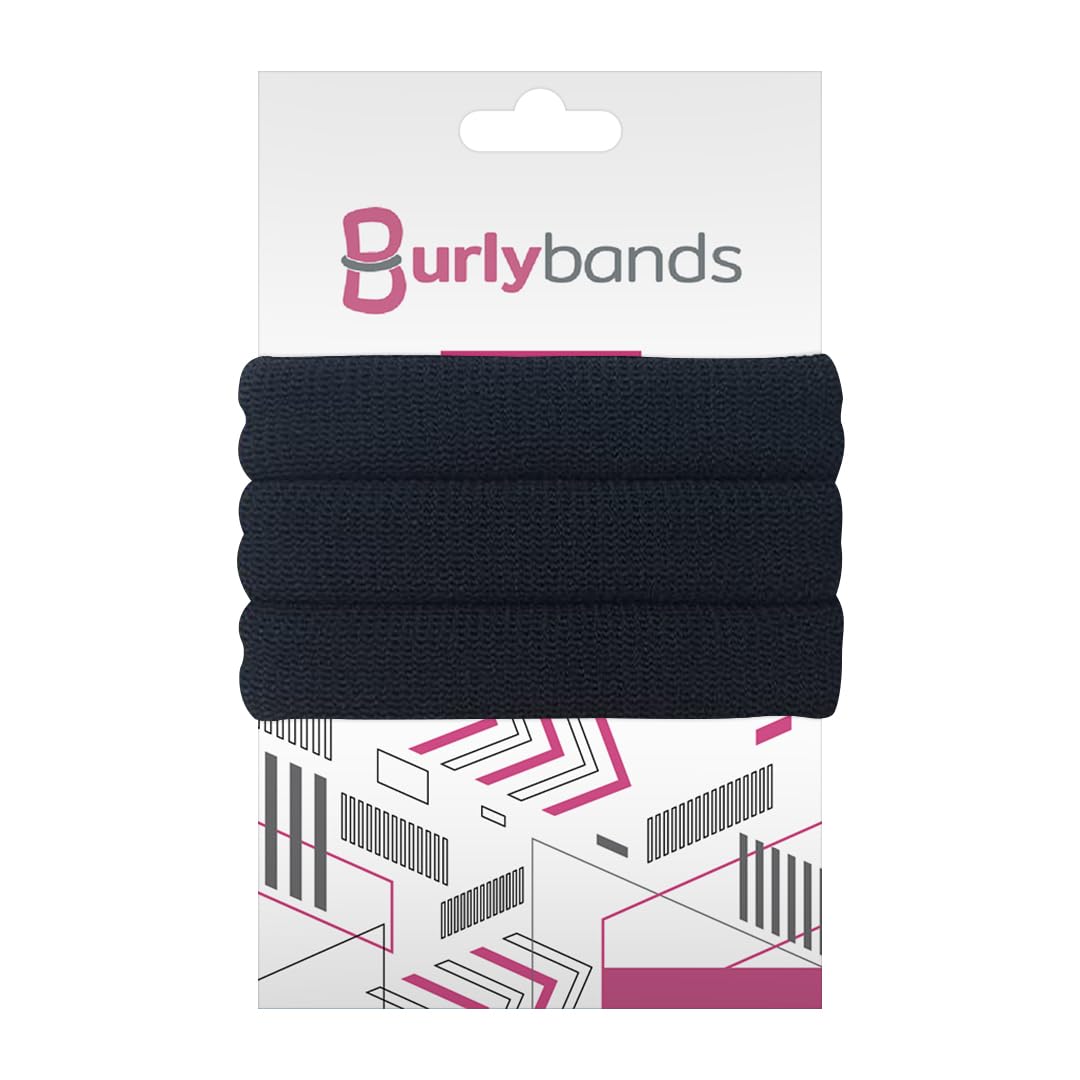
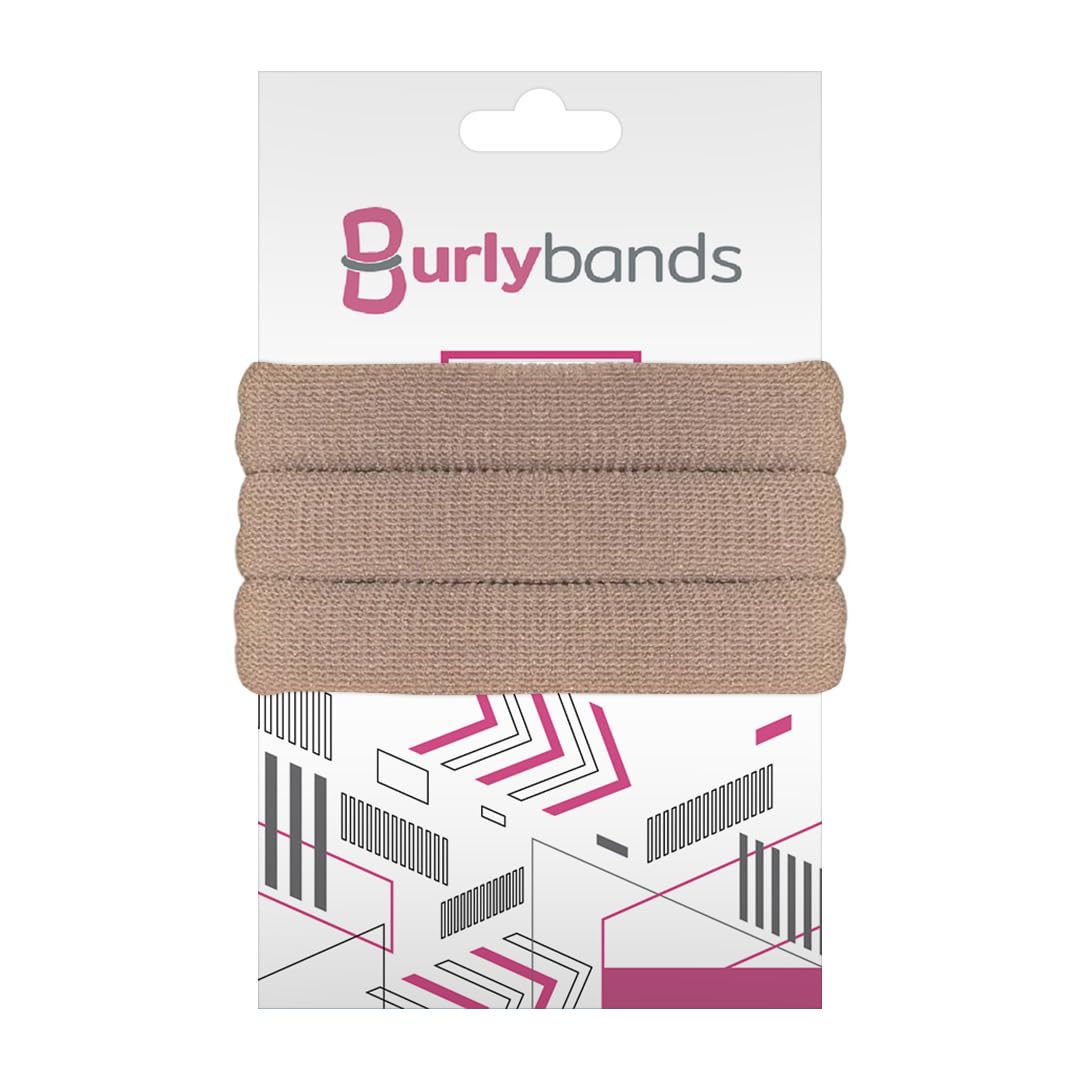
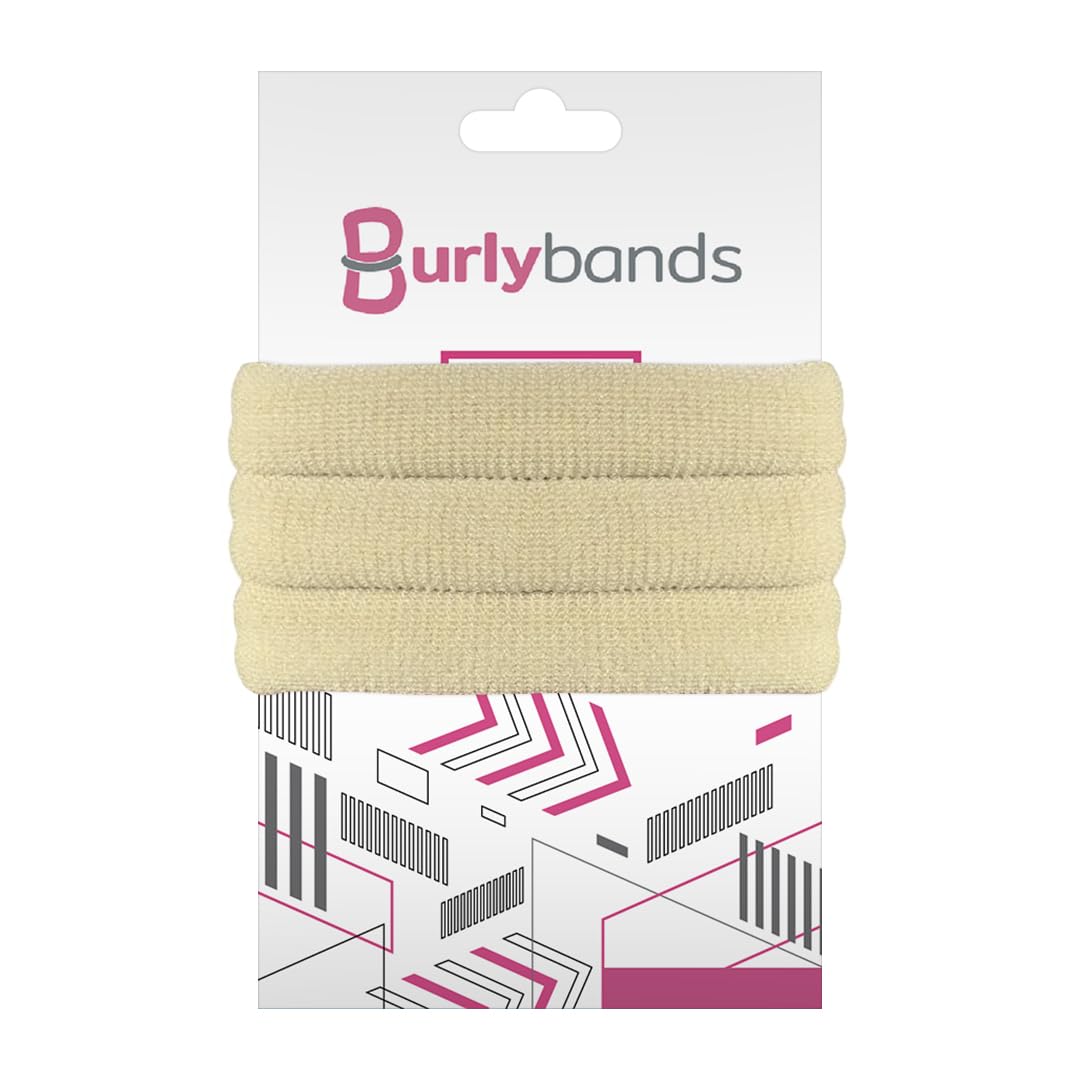
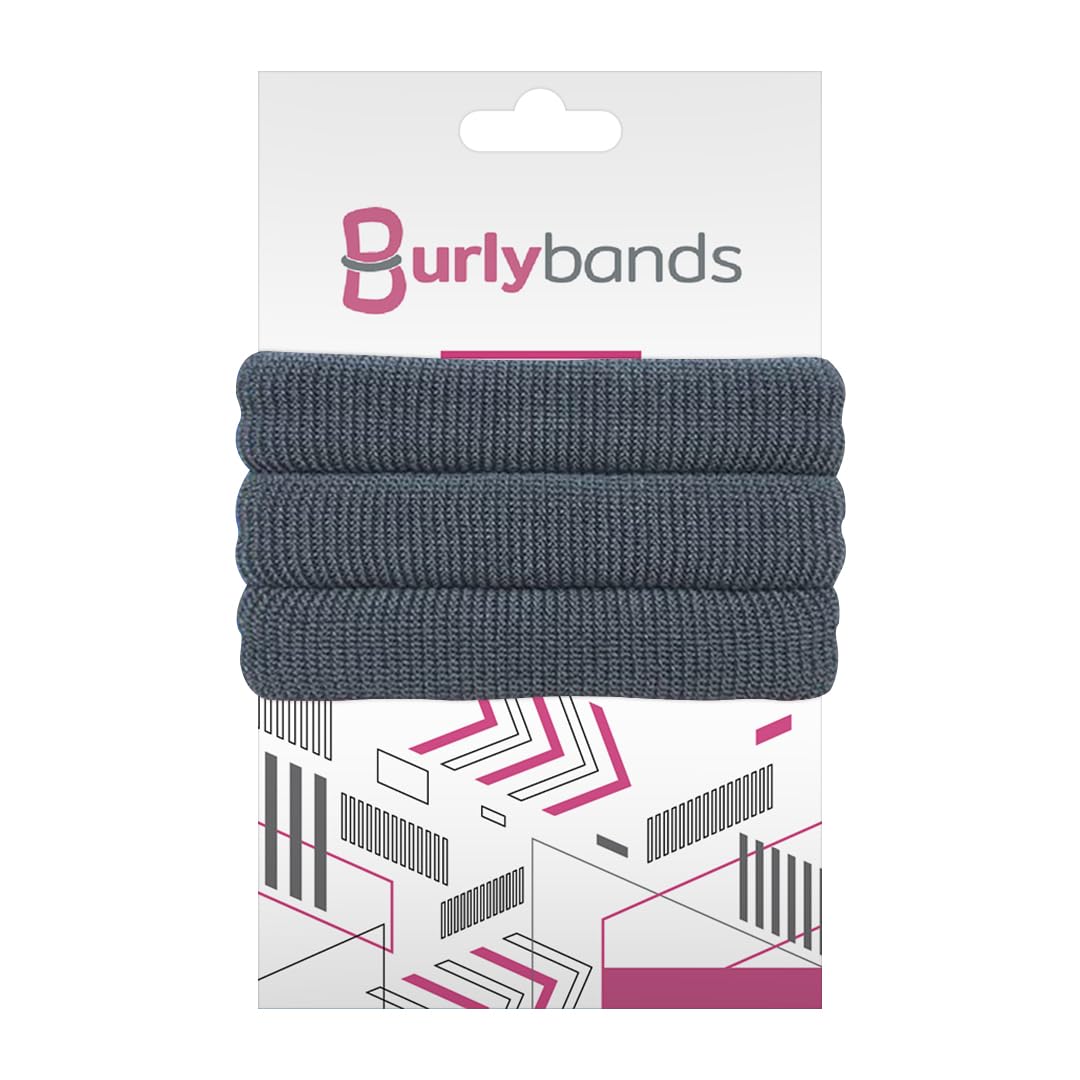
Good-quality hair ties are the key to keeping your bun secure. It's beneficial to have a couple of these on hand, and if you've got particularly thick hair, look for extra-strength versions that will hold your hair firmly.
3) Bobby Pins

Credit: Envato Elements/ Ladanifer
Small but mighty, bobby pins are the stars of hairstyling. These tiny tools are great for keeping your topknot in place, making sure it stays intact as you go about your day. Remember to choose pins that match your hair color for an invisible hold.
4) Hairspray
Hairspray helps to hold everything together. A good hairspray will ensure that your topknot stays put and helps manage any loose strands or baby hairs.
5) Rat Tail Comb (Optional)

Credit: Envato Elements/ FabrikaPhoto
This one's an optional tool but incredibly useful if you're a fan of precision. The sharp end of the rat tail comb allows you to create clean partitions and gather your hair neatly into a high ponytail. It's particularly helpful if you have layered hair that tends to fall out of the ponytail.
6) The Donut Bun Maker (Optional)
Last but certainly not least, we have the donut bun maker which is also optional. This tool is a game-changer if you prefer a fuller, more voluminous bun. It's easy to use and extremely effective, especially if your hair lacks volume or is on the thinner side.
How To Tie a Topknot Bun
Now that you know what tools you need, here is a step-by-step guide on how to recreate the perfect top knot bun:
Step 1: Prep Your Hair

Credit: Envato Elements/ choreograph
Before you can start styling your hair, you need to start prepping with the necessary products. If you're starting with freshly washed hair, use a texturizing spray to add some grip, making it easier to style. If you're styling your hair a day or two after washing, dry shampoo can help add volume and keep your hair looking fresh.
Once you've prepped your hair with the necessary products, use your hairbrush to detangle any knots. Smooth hair is essential for a sleek topknot.
Step 2: Pull Your Hair Up
Gather all your hair up towards the top of your head, as if you're creating a high ponytail. Your hair should be located where you'd like the bun to be, typically the crown. Smooth out any bumps with your rat tail comb for a neat and tidy look.
Step 3: Secure the Ponytail
Credit: Envato Elements/ senencov
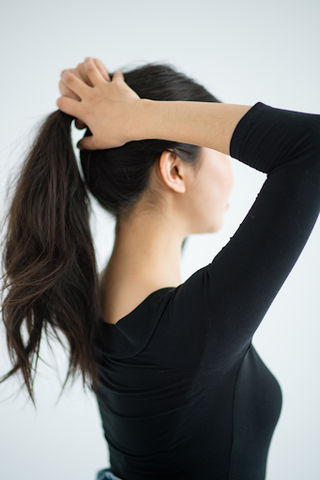
Once your hair is pulled up, use a sturdy hair tie or elastic band to secure it into a high ponytail. A clear elastic or a hair tie
that matches your hair color is preferable, as it'll blend in seamlessly.
Step 4: Twist Your Hair
Next, you need to twist your ponytail. Start at the base and work your way to the end. The tightness of the twist depends on your hair length and volume. If you have long hair that is thick, you might need to twist it tighter; alternatively, a loose twist will work for short hair that is on the finer side.
Step 5: Create the Bun

Credit: Envato Elements/ DragonImages
Now, wrap the twisted ponytail around its base to create a circular shape. Ensure the bun is tightly wrapped, and the ends of your hair are tucked in beneath the bun.
Step 6: Secure the Bun
Once you're happy with your bun's shape and placement, it's time to secure it. Use bobby pins or another hair tie to keep your topknot bun in place. For thick curly or wavy hair, you might need more bobby pins, whereas straight hair might require fewer.
Step 7: Spritz With Hairspray

Credit: Envato Elements/ Vikotikk
Finish off by using a light hairspray to hold everything in place, especially if you're planning to wear this hairstyle all day. If you prefer to have a sleek top knot bun, you can also use a hair serum or oil to tame flyaways.
Step 8: Volumize With a Bun Donut (Optional)
If you prefer a fuller topknot, you can choose to proceed with this optional step.
After you've secured your high ponytail, slide the bun donut onto it. Spread your hair around the donut evenly and secure it with a second hair tie. Any remaining hair strands can be tucked around the bun and secured with bobby pins and hairspray.
Customizing Your Topknot: Adding Your Unique Spin to the Classic Style
Every hairstyle has the potential to be a unique expression of who you are, and the topknot is no exception. While the basic steps to tie a topknot are relatively simple, there are endless ways to make it your own. Try these various top knot hairstyles to find your perfect fit:
1) The Braided Topknot

Credit: Envato Elements/ imagesourcecurated
If you're fond of braids, this variant is a must-try. Start by braiding your ponytail, and then proceed with the usual steps of wrapping and securing the bun. A braided topknot adds a level of intricacy to the classic style, instantly transforming the look from casual to chic.
2) The Half-Up Topknot
If you're in the mood for a more casual look, the half-top knot or half-up top knot could be your go-to. This style involves tying only the top section of your hair into a bun while letting the rest flow freely. It's the perfect blend of style and ease, ideal for days when you want to keep things relaxed yet trendy.
3) The Double Topknot

Credit: Envato Elements/ axelbueckert
Why stop at one bun when you can have two? The double topknot, also known as space buns, is a fun and quirky take on the traditional style. This style involves parting your hair down the middle and creating two separate buns on each side.
4) The Messy Topknot
Sometimes, the less perfect something is, the more stylish it looks. The messy top knot or messy bun is a prime example of this. Instead of trying to tuck away every stray hair, let them be. These loose strands can add a whole new level of charm to your look.
Summary
There you have it - your step-by-step guide to mastering the topknot bun. Like any new skill, it might seem a bit challenging at first, but with a bit of patience and practice, you'll be whipping up top knots before you know it!
Are you tired of regular hair ties that lose elasticity or snap mid-use? Burlybands has got you covered. These hair ties are specially designed, taking into account the needs of thick, curly, or voluminous hair. They offer a secure hold without causing damage or leaving a noticeable crease. Shop with us today.
 Log in


